










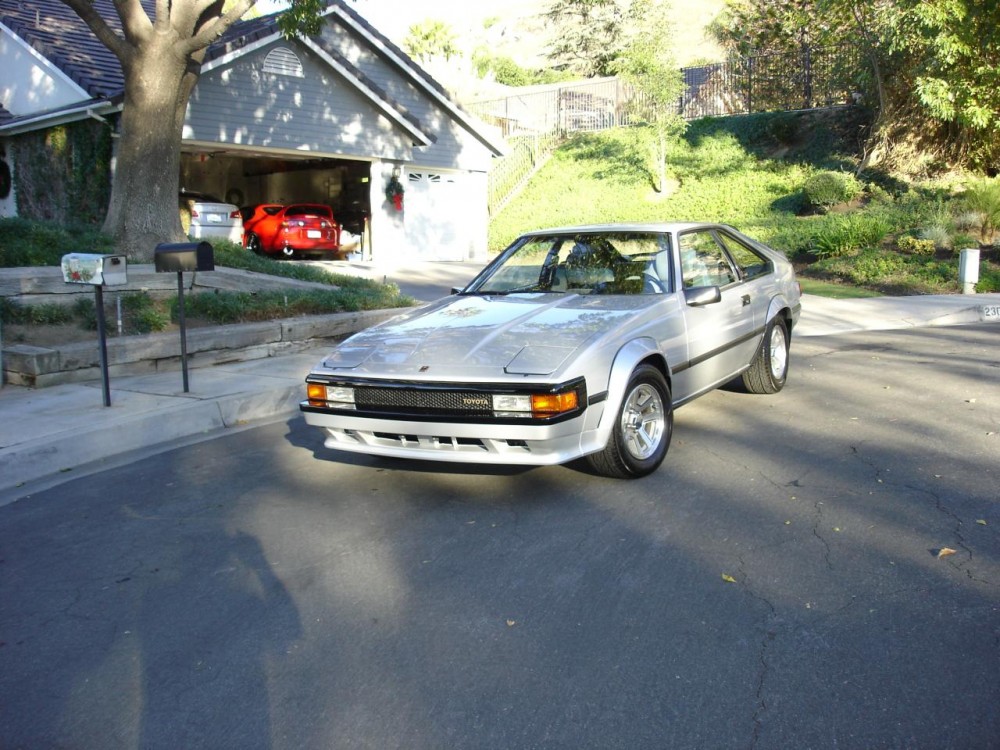
Tai bus ne pirmasis Celica-Supra egzempliorius atsidūręs Keno rankose. Būdamas dar pakankamai jaunas, 1983 metais jis šį automobilį įsigijo visiškai naują. Nors japoniškas kupė sugebėjo jam kiekvieną dieną nupiešti šypsena veide, tačiau sąžinės neturintys „burundukai“ pavogė dar dažais kvepiančią Celica-Supra. Pasukime laikrodį šiek tiek į priekį ir sustokime ties 2013 metais. Lygiai prieš vienerius metus vyras įsigijo neblogos būklės, vos 55.000 mylių nuvažiavusį egzempliorių už juokingai mažą kainą - vos 2000 dolerių.
Kaip bebūtų keista, tačiau automobiliui atvykstant į Keno namus, vyras iškart apskambino kelias specializuotas parduotuves, kuriose buvo galima įsigyti visas reikiamas detales.
Celica-Supra klubiečiai išgirdę apie naują Keno pirkinį, nieko nelaukė ir pradėjo jį įkalbinėti dalyvauti specialiame Toyota gerbėjų suvažiavime, kuris turėjo įvykti po maždaug 8 mėnesių.
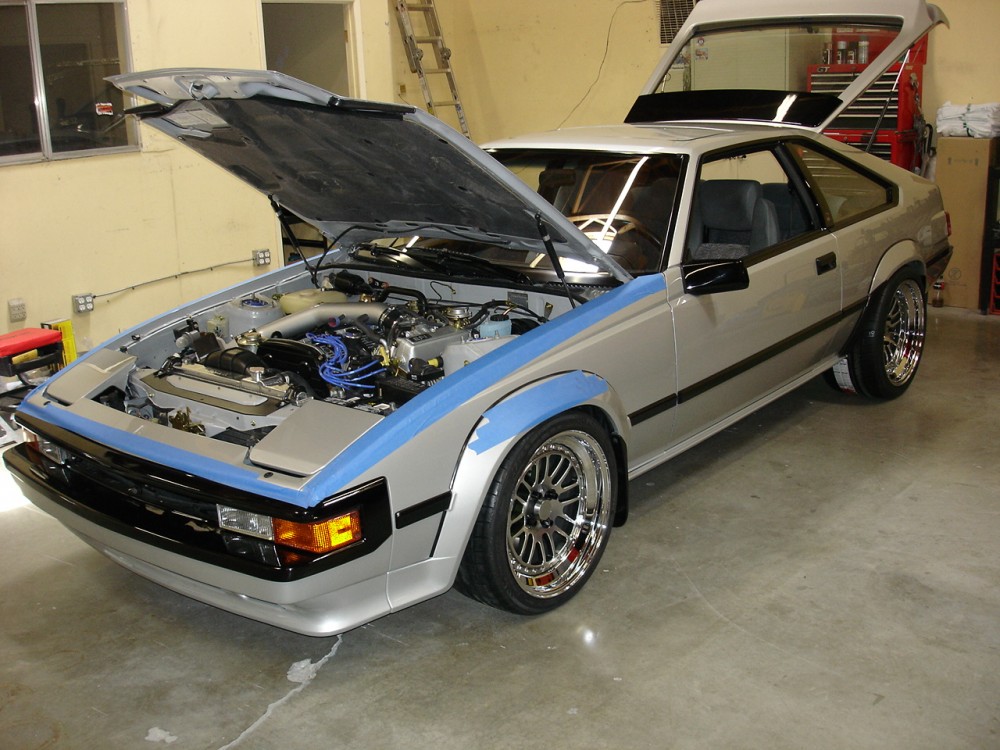
Aštuoni mėnesiai yra nemažas laiko tarpas, tačiau darbų sąrašas buvo žymiai ilgesnis negu gali pasirodyti iš pirmo žvilgsnio. Norite pamatyti ilgą 99 darbų sąrašą?
Kėbulas :
1. Remove dings on roof of car;
2. Remove ding on top of driver’s fender;
3. Remove dings on top of passenger’s fender
4. Repair dent on driver’s door;
5. Trim rear quarter panel lips underneath rear flares and inside rear wheel wells for additional wheel/tire clearance; Trim underneath front flare as well;
6. Re-spray entire car in Super Silver (paint code 150);
7. Install new windshield and new windshield moulding x 3;
8. Install new hood nozzles x 2 (using nozzles currently on the car);
9. Install new sunroof rubber seal/ gasket to ensure new look;
10. Install new whiskers;
11. Install new OEM rubber door seals;
12. Install new door body side mouldings x 2;
13. Install new MKIV Supra door checks;
14. Install new rear wiper blade;
15. Install new hood stops;
16. Install new padlock cylinder gasket;
17. Install new Supra Trunk Decal;
Techninė dalis :
18. Install new battery tie-down;
19. Install new battery terminal;
20. Install new heater valve and hose (will use existing hose);
21. Install new Trust Header and Trust 2 – 1 End Pipe;
22. Install Raptor Racing 2.5-inch exhaust piping;
23. Install Raptor Racing Metallic Catalytic Converter or Test Pipe;
24. Install Drift Motion stainless steel clutch line;
25. Install new Raptor Racing S3 short shifter;
26. Install Apexi SW2 universal muffler (mate to Raptor Racing exhaust piping);
27. Powder coat front control arm black (semi-gloss);
28. Powdercoat rear subframe black (semi-gloss);
29. Powder coat rear control arms black (semi-gloss)
30. Install new Raptor Racing rear Camber Correction Brackets;
31. Install new, Raptor Racing steering rack bushings;
32. Install new, Super Pro front control arm bushings;
33. Install new, Super Pro rear diff mount bushings;
34. Install new, Super Pro rear subframe bushings;
35. Install new Super Pro rear control arm bushings;
36. Install KYB 8-way adjustable short-stroke rear shocks;
37. Install TechnoToyTuning Roll Center Adjusters;
38. Install new Ground Control front weld-on coilovers, including MR2 short-stroke shocks for front suspension;
39. Install new TechnoToyTuning front Tension Control Rods;
40. Install Dobinson Rear Lowering Springs and KYB AGX short stroke shocks;
41. Install used (200-miles) Cusco Camber Plates;
42. Install new Whiteline front and rear sway bars;
43. Install new Jim King BBK, front and rear, including Technafit stainless steel brake lines, Wilwood Brake Proportioning Valve and Residual Pressure Valves x 2;
44. Install new Coleman rotors, front and rear as part of Jim King BBK;
45. Install new Toyota ’95 4Runner 4WD, non-ABS brake master cylinder using OEM MA61 booster;
46. Conduct 4-wheel alignment;
47. Install new A/C compressor;
48. Install new A/C dryer (handled by Broadway Radiator);
49. Install new MKIII radiator conversion using new Koyo radiator;
50. Install 1988 Toyota MKIII Supra radiator shroud;
51. Install new MKIII radiator brackets;
52. Install Toyota Red coolant;
53. Reupholster driver’s seat bottom and left side seat back bolster (handled by Fibrenew);
54. Reupholster passenger’s seat bottom left bolster (handled by Fibrenew);
55. Install new CocoMats ;
56. Install new Momo Jet 350 mm steering wheel with Momo hub adaptor;
57. Install new Cusco rear suspension brace;
58. Install new TSC V2 rear suspension brace;
59. Install new TRD radiator cap for Koyo radiator;
60. Install new TRD oil cap;
61. Install new TRD shift knob;
62. Install new Blitz stainless steel air filter (including 3 new couplers);
63. Install new CCW Classics/4 in Hyper Hyper Silver, size 18 x 8.5, front, and 18 x 10.5, rear, on 245/35/18, front, and 295/30/18 Michelin PS2 tires;
64. Substitute TiTek race 7075 aluminum alloy lug nuts (short) for CCW lug nuts;
65. Install new OEM fan blade;
66. Install new OEM Rear Main Seal;
67. Install new OEM Transmission Seal x 2;
68. Install new OEM Transmission Mount;
69. Install new OEM Oil Pan Seal (Nut);
70. Install new OEM Lower Arm Caps;
71. Install new OEM Drain Plug Gasket;
72. Paint engine block OEM black;
73. Paint fuel rail GReddy blue (semi-gloss);
74. Paint Cusco Camber Plates GReddy blue (semi-gloss);
75. Paint timing cover aluminum backing plate super silver;
76. Paint cam towers super silver;
77. Paint exposed metal on valve covers super silver and clear coat (handled by McPeak Pinstriping);
78. Paint intake manifold super silver;
79. Paint Rabid Chimp Intake super silver;
80. Paint “EFI” background on intake manifold black (semi-gloss); EFI lettering to remain silver;
81. Paint timing gear cover black (semi-gloss);
82. Paint brake booster black (semi-gloss);
83. Zinc plate all bolts, screws, nuts, tubing, clamps, etc., in engine compartment (handled by El Monte Plating);
84. Powder coat LJM strut bar black (gloss);
85. Paint LJM strut bar end links GReddy blue (gloss);
86. Install new OEM valve cover gaskets x 2;
87. Install new OEM valve cover grommets x 8;
88. Install new OEM cam tower gaskets x 2;
89. Install new OEM front cam plate seal and new OEM rear cam plate seal;
90. Install new OEM manifold gasket x 2;
91. Install new OEM throttle body gasket;
92. Install new OEM Idle Control Valve gasket;
93. Install new OEM EGR gasket;
94. Install new OEM Cold Start Injector;
95. Install new OEM 7M-GE clutch;
96. Resurface OEM flywheel (handled by Dougan’s Machine);
97. Re-thread OEM crank bolt.
98. Install new OEM crank front seal;
99. Install new OEM oil shaft seal
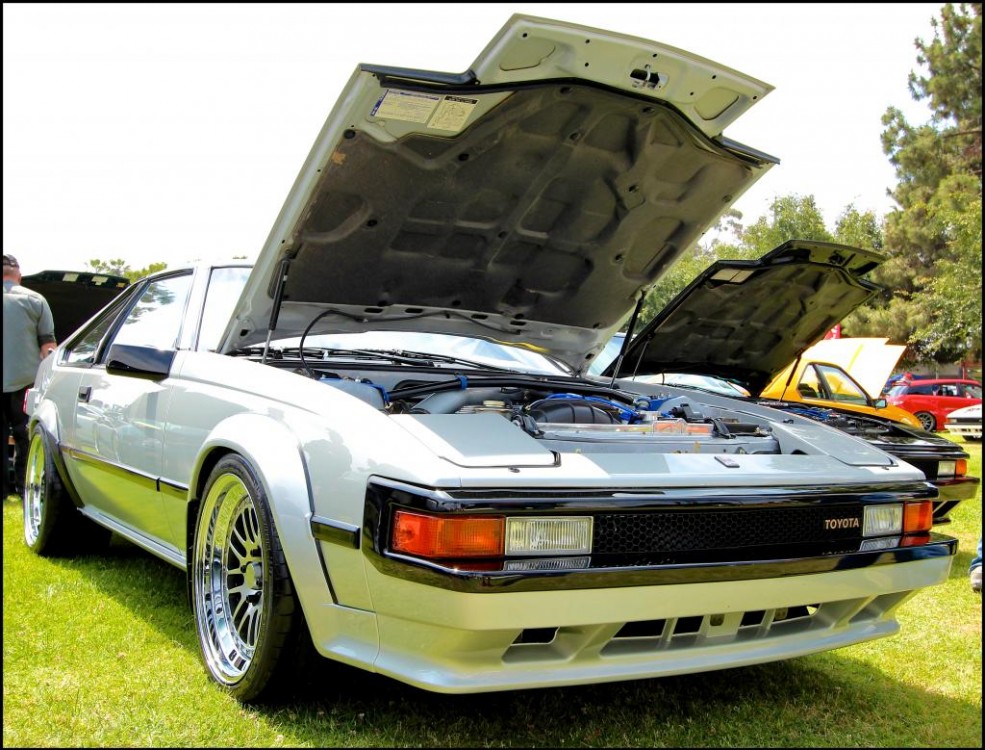
Dar šiek tiek vaizdelių :


